It is said that fashion is a cycle. Elements that were popular more than a decade ago always come back. For example, flared pants, floral dresses, as well as beading and stringing beads. Little U used to think that beading was tacky and something only kids would play with. But actually, as long as you decide on the style and color combination, beading can be very delicate and sophisticated. The water-clear and translucent beads glisten with rippling light under the sunlight. Coupled with their natural cool texture, they are simply a must for summer.
DIY Beaded Earrings
Tools and Materials Needed
Scissors | Non-elastic thread | Beaded stud needles | 502 Super Glue
1. First, string 5 transparent beads with a diameter of 4mm and 32 facets using non-elastic thread.
2. Then string in 1 coffee-colored round bead with a diameter of 4mm. String the two threads A and B from bottom to top into the two outer beads respectively. The path of the thread is as shown in the figure:
3. After tightening, the coffee-colored bead will be semi-surrounded by the transparent beads and reach the state shown in the following figure:
4. String in one transparent bead at each end respectively, cross-string one transparent bead, and tighten. A flower is done!
5. Follow the same method to string the lower part (using 11 pink round beads with a diameter of 4mm and 1 coffee-colored bead of 10*15mm).
6. After finishing all, string the excess thread back into the bead and tie a knot in a hidden place. Cut off the thread ends with scissors.
7. Finally, use 502 Super Glue to stick it onto the stud needle and it’s done!
DIY Beaded Necklace
Tools and Materials Needed
Scissors | Non-elastic thread | Beaded jump rings | Clasp ends | Extension chain | Round-nose pliers | Double-loop clasps
Compared with earrings, making a necklace is much simpler. You just need to string the beads according to your favorite color and arrangement. However, an additional connecting clasp is required. First, put the clasp end on the rope and flatten it with round-nose pliers, then put on the double-loop clasp. PS: Make sure to press the clasp end tightly. Its function is to hold the double-loop clasp that will be put on later and prevent the beads from falling. Next, use the jump ring to connect the double-loop clasp and the extension chain.
DIY Beaded Bag
Tools and Materials Needed
Scissors | Thin fishing line | Beads
1. First, make the bottom of the bag. Take a piece of thread, string 3 beads, then cross-string one bead and tighten.
2. After that, use the “back-stringing method” shown in the following figure 5 times in a row.
3. For the 6th time, string 3 beads with the left-hand thread and the right-hand thread goes back without stringing beads directly. The bottom of the bag is done.
4. The same method is used for the bag surface. “Build a building from the ground” using each bead at the bottom. PS: Remember the key to stringing this bag is to always keep four beads forming a standard square after tightening. The size depends on your needs. After finishing the main part, you can tie a knot – string the excess thread into the nearby bead and tie a firm knot, and it’s completed! PS: If the thread is not long enough during the process, you can tie a knot in advance and then continue stringing beads with a new rope at the end position.
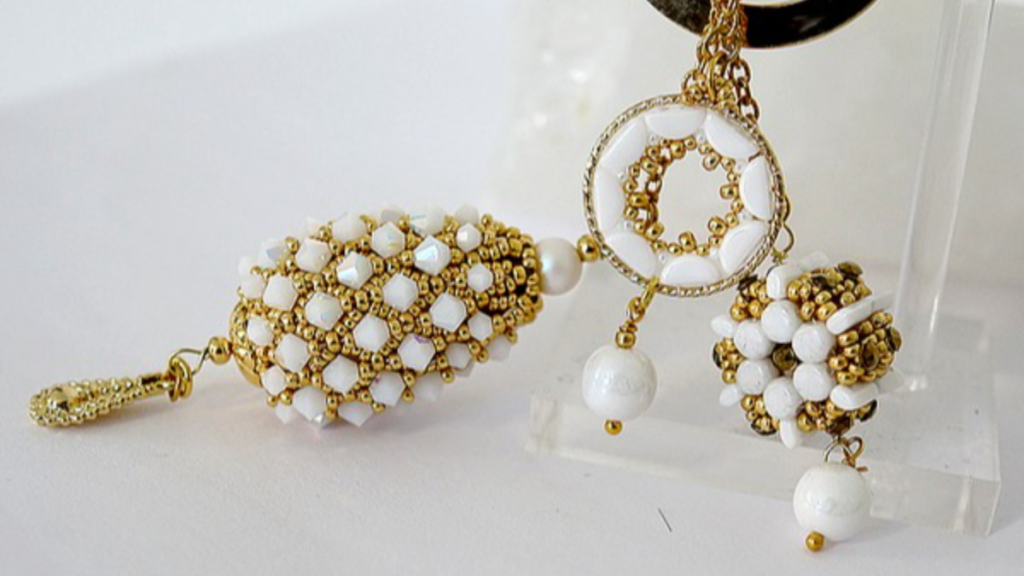
Beads may be inexpensive, but with good matching and design, they are definitely not inferior to fashionable luxury brands.
This summer, quickly put on your beaded accessories and make a splash on the street!